So you’ve been hosting your own server and now you’ve decided to host CSMM on your Unraid box as well. This is written assuming that you have a basic understanding of how Unraid and containers in Unraid work. In this article I will address setting up Ich777’s CSMM-7DTD container.
First you will need to go to the apps tab and search CSMM-7DTD.
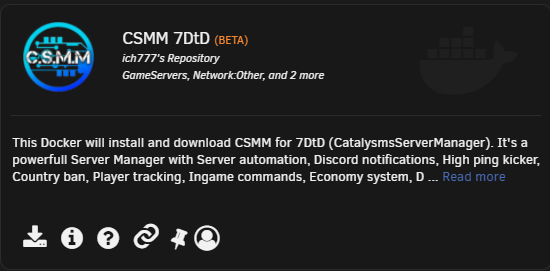
Once you click download then you will see the configuration screen:
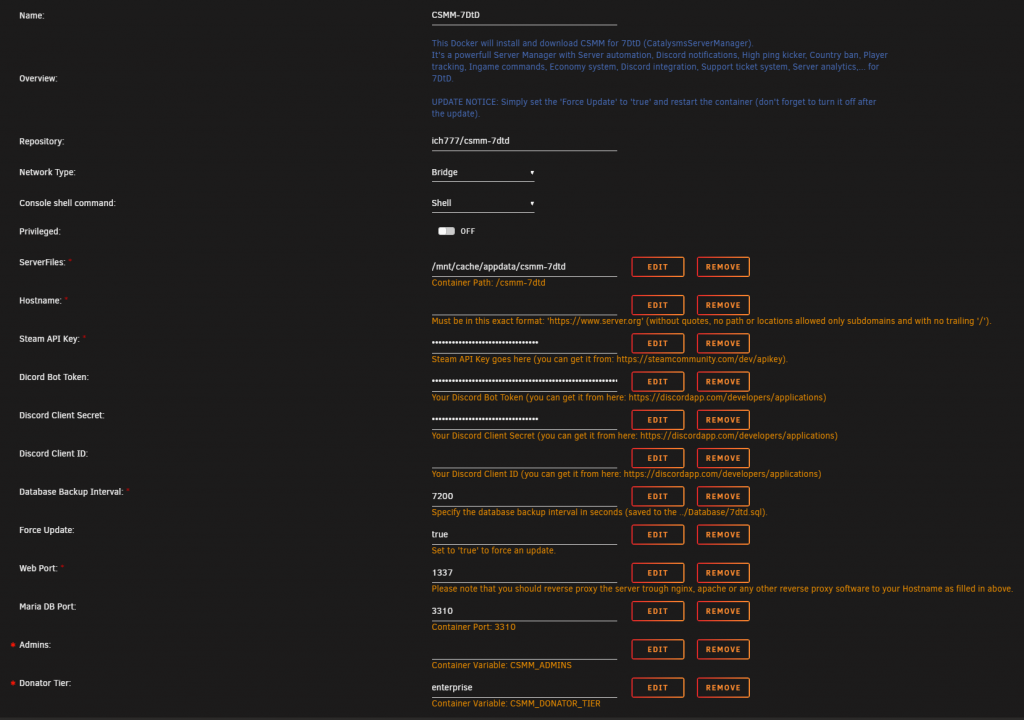
Hostname: That will link to your own domain name. Example: https://csmm.yourdomain.com
Just a few notes, by default the Maria DB Port will be 3306. If you already have MariaDB installed, please change the container port number. You will need to click Remote, and re-add the Port.
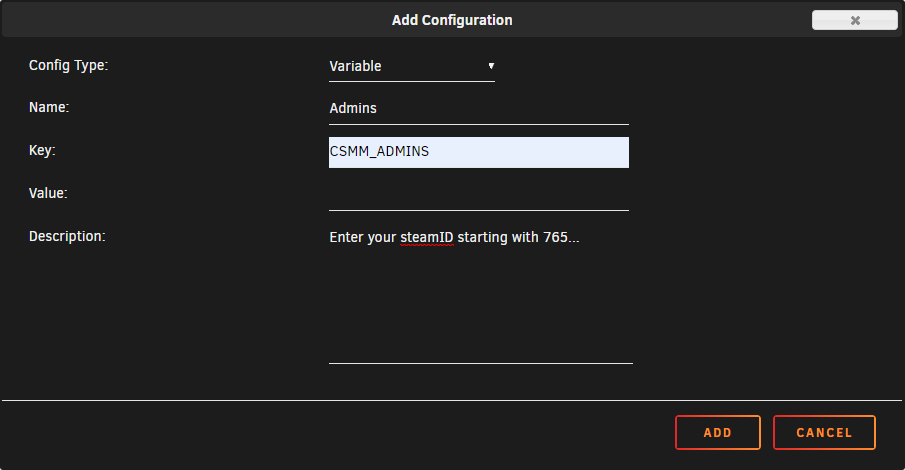
For the Admins variable you will need to put in YOUR steamid, not your steam name but the number that starts with 765… This variable does not come standard in the configuration and you need to add this in manually.*
Donator Tier will also have to be added as a variable. As I have already done make the value enterprise, it is case sensitive. Enterprise will give you unlimited servers and data storage. This variable does not come standard in the configuration and you need to add this in manually.*
As per the screenshot, there is already info posted on some of the options that you will need to fill in so I am not going to touch on those.
*To add a new variable you will need to click the Add another Path, Port, Variable, Label or Device towards the bottom of the configuration screen.

Other Dependencies for CSMM using Unraid.
Now that you have CSMM configured, you’ll need a few other dependencies to open it up to the world.
1. Your own domain name. If you need a domain you can buy one here: Linux-Hosts-inc.com I have my domains through them as well as my hosting for 7DAC.net
2. A duckdns.org domain, ie mycsmm.duckdns.org At this point it would be best to log in to duckdns and create your duckdns url.
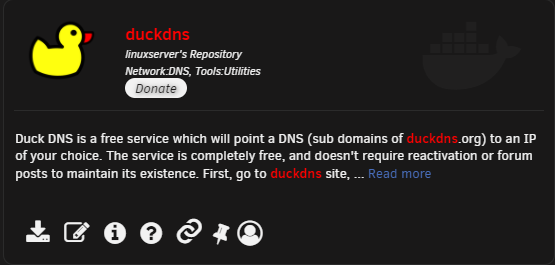
3. The duckdns container.
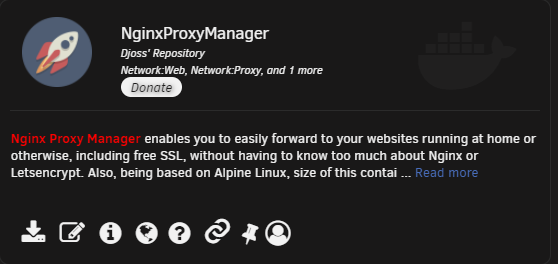
4. NginxProxyManager container for reverse proxy.
Setting up your Domain name for CSMM.
You will need to configure a CNAME to point to your duckdns url. Example: csmm.yourdomain.com linked to yourcsmm.duckdns.org This will be done from your domain names providers control panel.
Configuring the Duckdns Container.
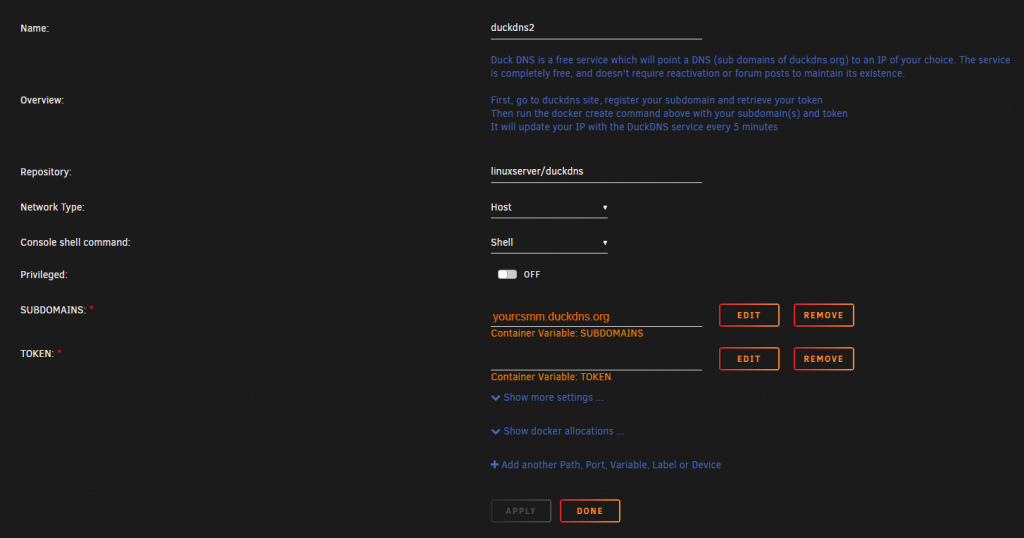
Fill in the subdomain you created at duckdns.org under your account.
Then from the same page of duckdns.org you can fill in your token.
Once you’ve done that you can hit apply, the changes will be made and the container restarted.

Setting up NginxProxyManager
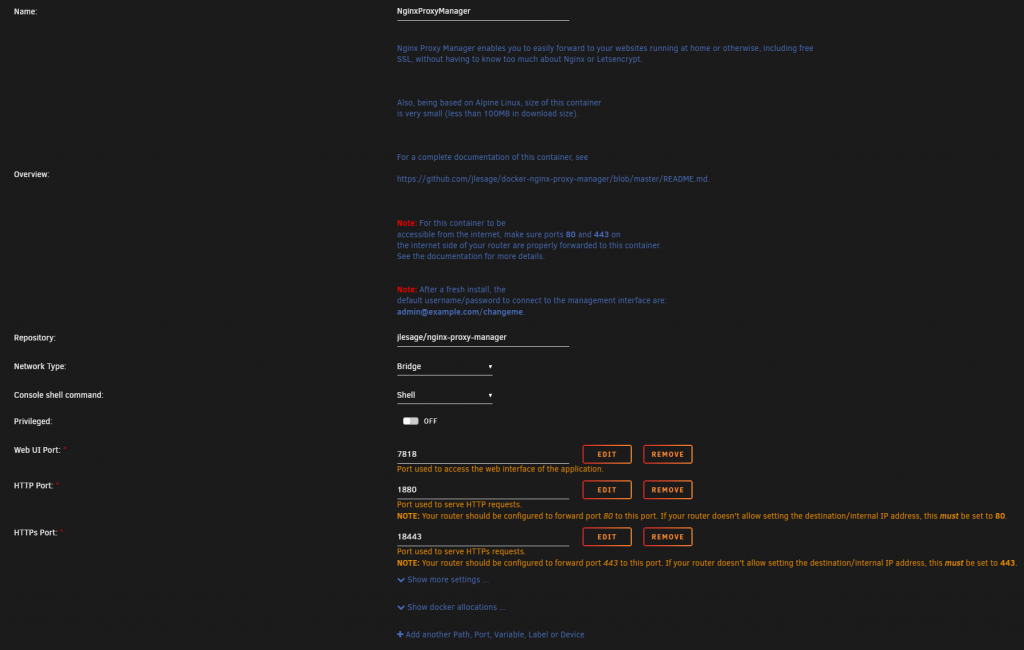
Please note the Notes in the container configuration about your ports being forwarded. This is pretty self explanatory.
Once you have NPM setup, log in through the web user interface. The default user info is: Email address: admin@example.com and Password: changeme
You will see the following:

You will want to click the Proxy Hosts button, that is the first one with the green icon. As you can see I have 6 existing.

From here you will click the Add Proxy Host button.
Once you click the add button you will see the following:
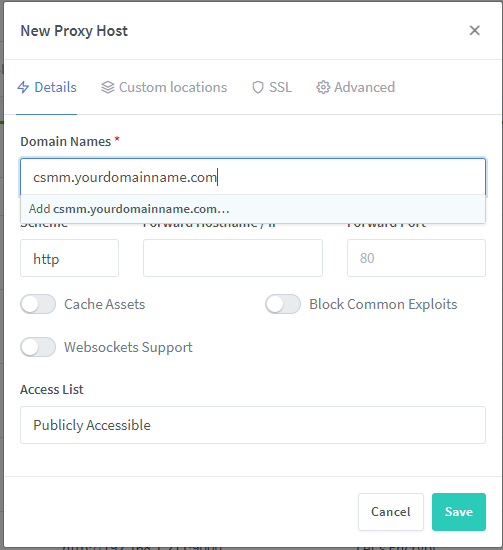
Under domain name you enter in the domain name you created for using CSMM. Example: csmm.yourdomainname.com
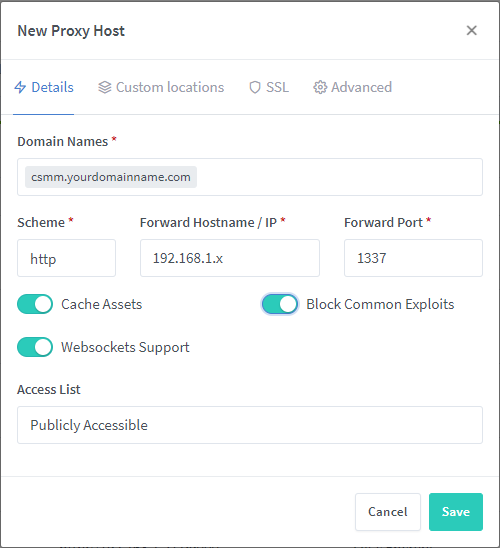
Then you will fill in your internal IP under Forward Hostname /IP and port 1337. Also you will want to turn on the 3 buttons for: Cache Assets, Block Common Exploits & Websockets Support.
Once you’ve done that click the SSL tab.
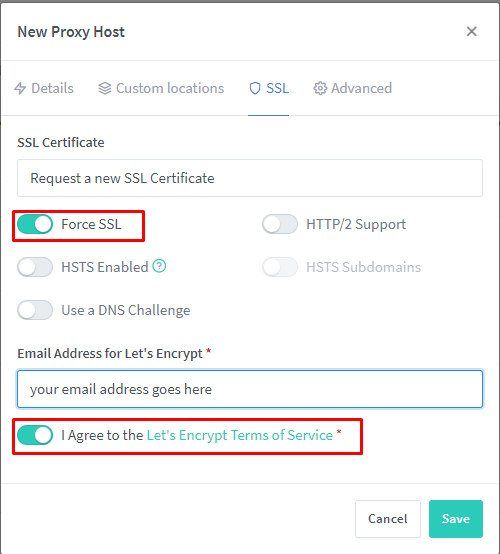
Under SSL Certificate you’ll want “Request a new SSL Certificate” as in the picture. Also turn on the Force SSL and I agree buttons. You also must fill out your email address to register the Let’s Encrypt SSL certificate.
Once these steps are done you should be able to go to https://csmm.yourdomain.com and access your CSMM install.
I hope this guide was useful for you, if you need more assistance please ask on the discord.

